

The idea of the "Zen of the Tank Brush" is to do an overbrush of the entire model with the tank brush. An overbrush is very similar to a drybrush - in fact most people who think they are drybrushing are actually overbrushing. The difference is in the amount of paint on the brush. For both techniques you need a dry brush - moisture on the brush will lead to paint going down into the crevices of the model, which you definitely don't want here. For overbrushing you put a little of the paint on and remove enough that there are no glops. However, if you drag the brush across a surface color still shows up immediately. This lays enough paint onto the model that you've got a smooth basecoat without going too far into the recesses. So you just drag the tank brush over the entire model a couple of times and you've got a partially shadowed basecoat! It takes a little practice - too much paint and you get a messily block painted model, and too little and you get the powdery appearance of a drybrush. The beauty of it is that with a tank brush you can effectively overbrush a large number of models in a few minutes. That leaves you free to complete the details if you're not too picky about the highlighting, and if you are just do a lighter version a second time.
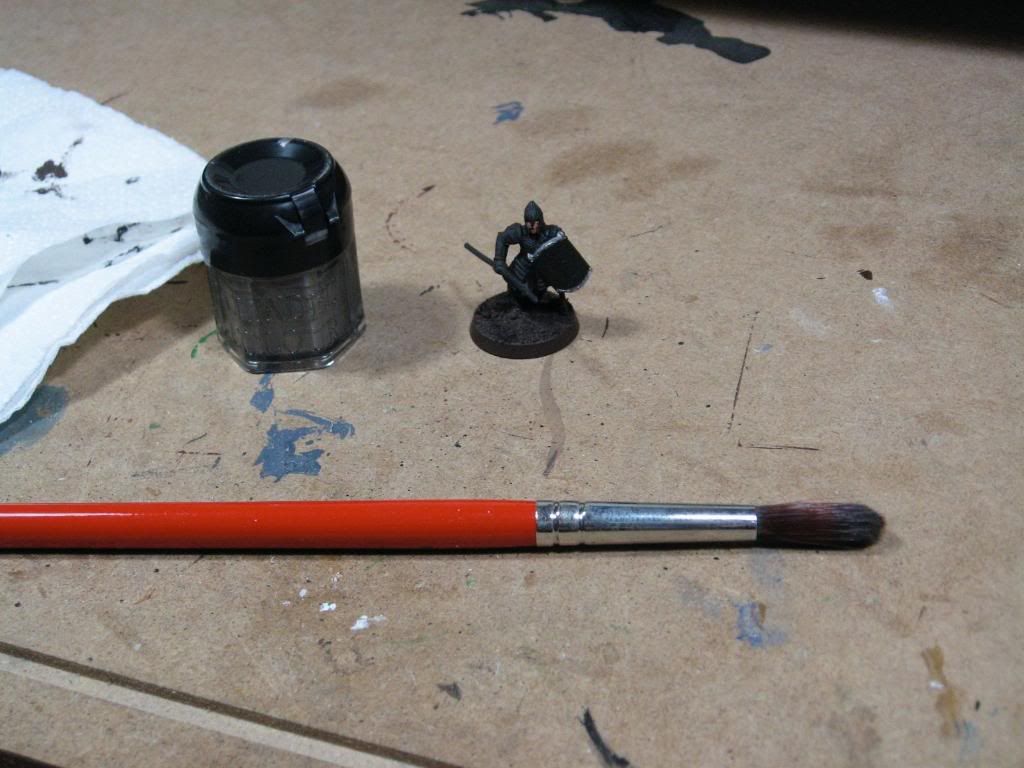
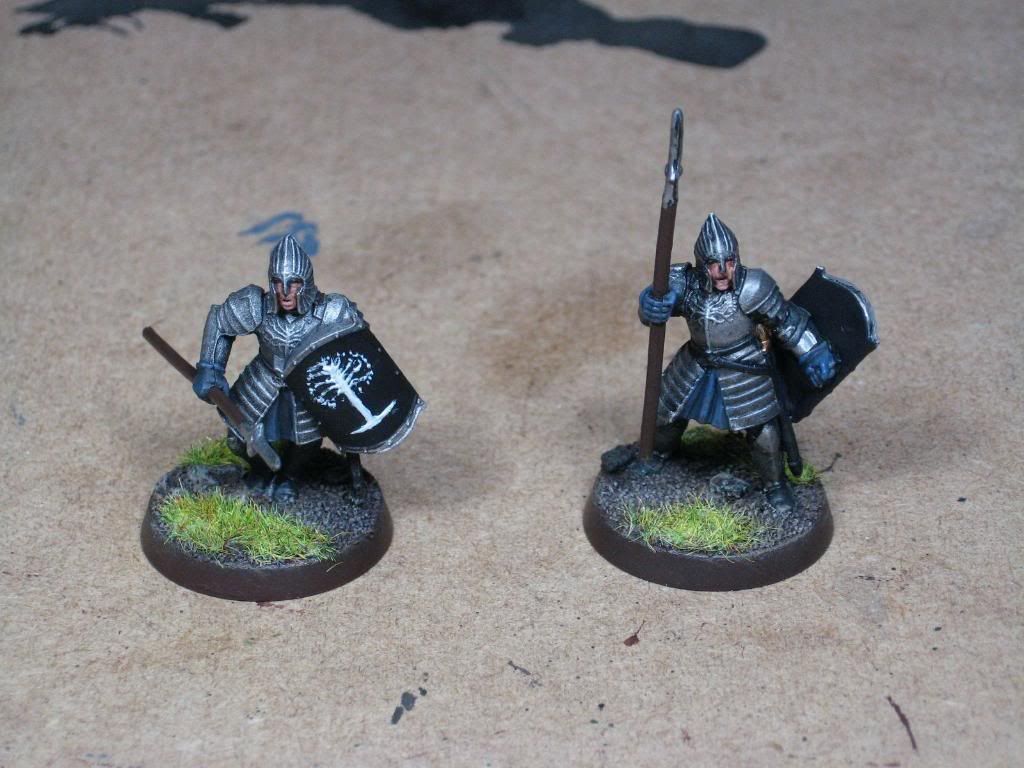
I tank brushed the primed model with Boltgun Metal, but I think I actually didn't have enough paint on the brush, because the model came out a little powdery. So for comparison I grabbed another one of my spearmen which had a more solid coat of paint on him. This also gave me the opportunity to test some other ideas side by side. My second step was using the GW black wash over both models. After that dried, I used the tank brush to drybrush on some more Boltgun Metal, followed by another light drybrush of Chainmail just to see if it mattered. I saw a small difference, but nothing big. Next I grabbed a small drybrush and hit the chest tree, the wings on the helmet, and edges of the plates with Mithril Silver. This gave the models a very nice highlight. I also liked the effect of the more solidly painted model - the first model had a definite powdery appearance. I also will pretty much have to use other models for my actual army, as it became blindingly obvious that I hadn't removed the mold lines from these guys.
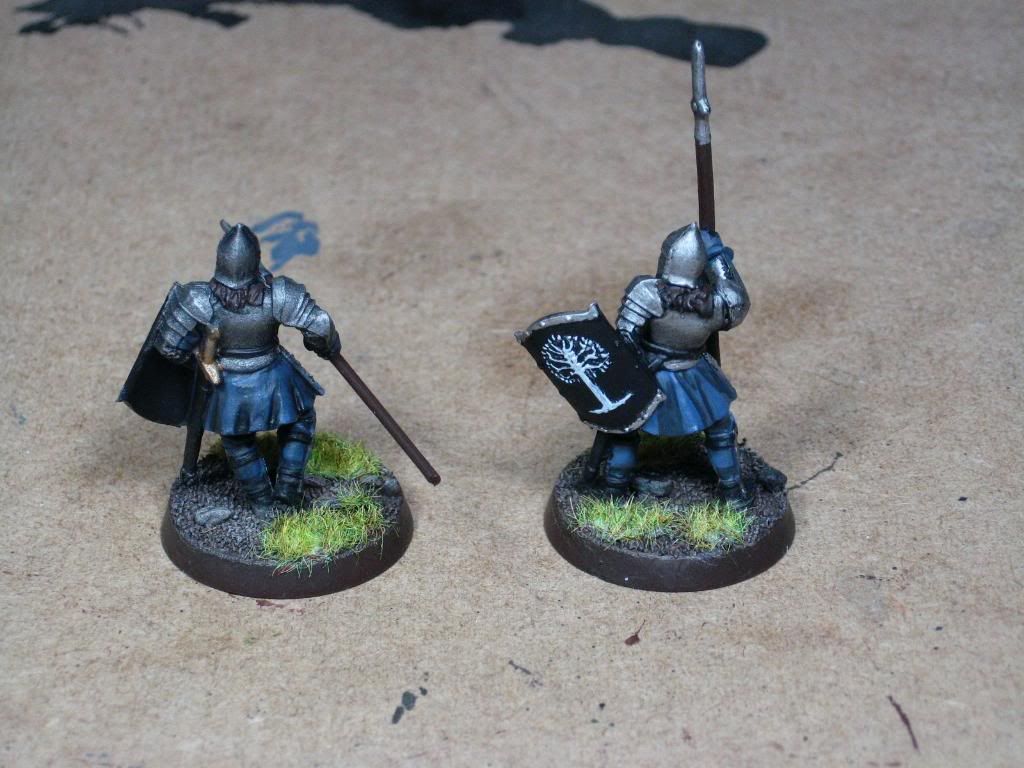
I next decided to see how the models would look with and without washes over their cloth. I experimented with another metal ranger I had lying about, and found that the wash really worked well as a glaze to pull the highlights together. I played around with the warriors as well, first putting a basecoat coat of Fenris Grey, a Foundation paint, onto their cloth. Instead of layering up, I layered down, enhancing the shadows of the cloth. The next layer was a 50/50 mix of Shadow Grey and black (using two drops each from my Vallejo bottles), and the bottom layer was the same mix with another three drops of black added. I finally put a black wash over the first model's cloth while leaving the second model unwashed.
Next I did the shields. I've almost always seen these done in metallics to match the armor, but I wanted to actually have them be white as it says in the books. OK, the books say that only the Guard of the Citadel (which GW split up into the Guards of the Fountain Court and the Citadel Guards) bear the arms of Elendil, but heck with it - they're on the shields, so I'm painting them white. I covered the entire shield in black to cover the drybrushing up, then used the side of my brush to barely hit the detail on the tree with Astronomicon Grey, another Foundation Paint. Well, the first model had much lower detail than the second model and I ended up smearing paint all over it. I next put a layer of white on, then went back and touched up the black around the tree and between the branches when I could manage it.
My next task was to experiment with faces. For the first model, I just slapped on some Tallarn Flesh (Foundation paint), then used the Ogryn Flesh wash. The other one I did a three layer process of Dark Flesh, Tanned Flesh, and Dwarf Flesh. This was a huge pain in the rear inside that tiny helmet space and ended up looking sloppy and unhighlighted. Well, easy looks better, so I'm going with that!
Finally I tidied up the details and based the models, and here they are! The model on the left is the original one with the drybrushed base coat and the washes, the one on the right is the unwashed cloth and face.
By the way, pictures of my step-by-step work are located at my Photobucket account.
Well, with the result of this test, I think I'm going to go with a heavier basecoat of Boltgun and make liberal use of the washes. I'll put building more spearmen into the "like to do" priority list, along with converting some non-spearmen. After all, if I don't need the spearmen, why build them now?
No comments:
Post a Comment